Artisan Bread - Fork Hatch Here
First carefully mark out your worktop, then using a band saw cut the hole for the Fork Hatch.
Just joking 🤣
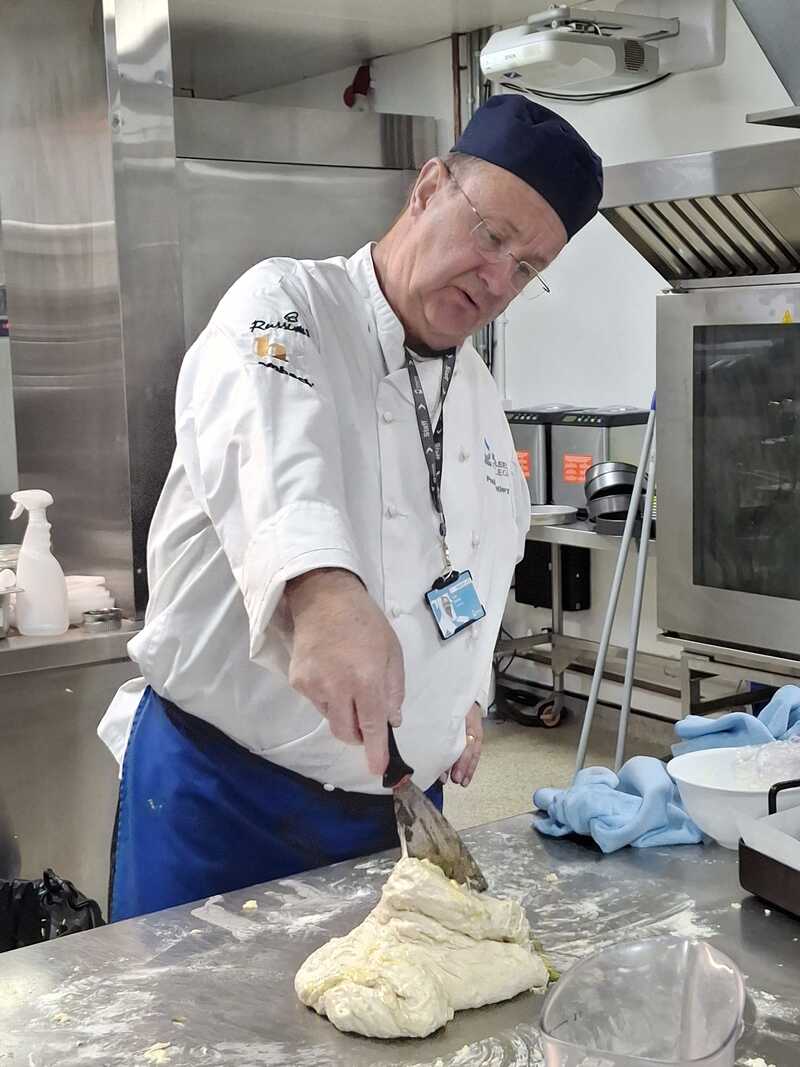
Obviously the topic of this week's Artisan Bread class is Focaccia and Teacher Paul is flying solo for this one.
The name itself is uncontroversial, unlike the origin of the bread, deriving from the Roman term panis focacius meaning Bread from the Fireplace.
It is a leavened flatbread and is now eaten in various regional styles all over modern Italy, and was certainly enjoyed in some form by the Ancient Romans, but is believed to have originated even earlier with the Etruscans (who lived around Tuscany about 700 B.C.) or the ancient Greeks. Which makes it odd that in modern Tuscany focaccia is actually known as schiacciata.
The whole Middle East have in fact been eating flatbreads for millennia but these differ from focaccia in being universally unleavened, including this 9,000 year-old example from Mesopotamia (Syria/Turkey) which was most certainly not focaccia.
Flatbreads are breads that are, well, flat. As opposed to boules, bloomers, buns or baguettes, say.
Both pizza (especially pizza bianca - a Roman pizza without a tomato sauce topping) and its precursor focaccia are similar oven-baked, leavened, flatbreads, but focaccia dough is mixed with olive oil and allowed to rise for a second time in the tray before baking.
Usually after a good finger-banging to produce its characteristic dimples.
Best of all, it turns out to be pretty easy to make!
Just joking 🤣
Obviously the topic of this week's Artisan Bread class is Focaccia and Teacher Paul is flying solo for this one.
The name itself is uncontroversial, unlike the origin of the bread, deriving from the Roman term panis focacius meaning Bread from the Fireplace.
It is a leavened flatbread and is now eaten in various regional styles all over modern Italy, and was certainly enjoyed in some form by the Ancient Romans, but is believed to have originated even earlier with the Etruscans (who lived around Tuscany about 700 B.C.) or the ancient Greeks. Which makes it odd that in modern Tuscany focaccia is actually known as schiacciata.
The whole Middle East have in fact been eating flatbreads for millennia but these differ from focaccia in being universally unleavened, including this 9,000 year-old example from Mesopotamia (Syria/Turkey) which was most certainly not focaccia.
Flatbreads are breads that are, well, flat. As opposed to boules, bloomers, buns or baguettes, say.
Both pizza (especially pizza bianca - a Roman pizza without a tomato sauce topping) and its precursor focaccia are similar oven-baked, leavened, flatbreads, but focaccia dough is mixed with olive oil and allowed to rise for a second time in the tray before baking.
Usually after a good finger-banging to produce its characteristic dimples.
Best of all, it turns out to be pretty easy to make!
Artisan Focaccia
class veg bread
I'm not sure what the difference between Artisan Focaccia and Regular Focaccia is, but here we go.
Fills a Large Oven Tin
Ingredients
- 500g strong bread flour
- 375g lukewarm water
- 15g fresh yeast, crumbled
- 10g fine sea salt
- 30ml olive oil
Toppings:- rosemary
- sea salt
- garlic, sliced
- extra olive oil for drizzling
Crumble the yeast directly into the lukewarm water.
Let it sit for 5-10 minutes until the surface turns frothy - that foam is the signal the yeast is alive and ready for duty.
(Fresh yeast is more potent than dried - handle gently and never use water above 38°C or you'll kill it.)
Add the flour and salt to the frothy yeast mixture. Combine until a shaggy SHAGGY??, rough dough forms. Drizzle in 30ml olive oil and work it in until the dough comes together.
(No kneading needed - this is a wet, sticky dough. Trust the process.)
First Rise:
Cover the bowl and leave in a warm spot for 1½-2 hours, until the dough has doubled in size.
(Slow fermentation with fresh yeast builds complex flavour and that signature airy, open crumb texture.)
Dimpling:
Generously coat a 23x33cm baking tin with olive oil.
Gently stretch out the dough to fill the tin, coaxing it into the corners. Don't force or tear it.
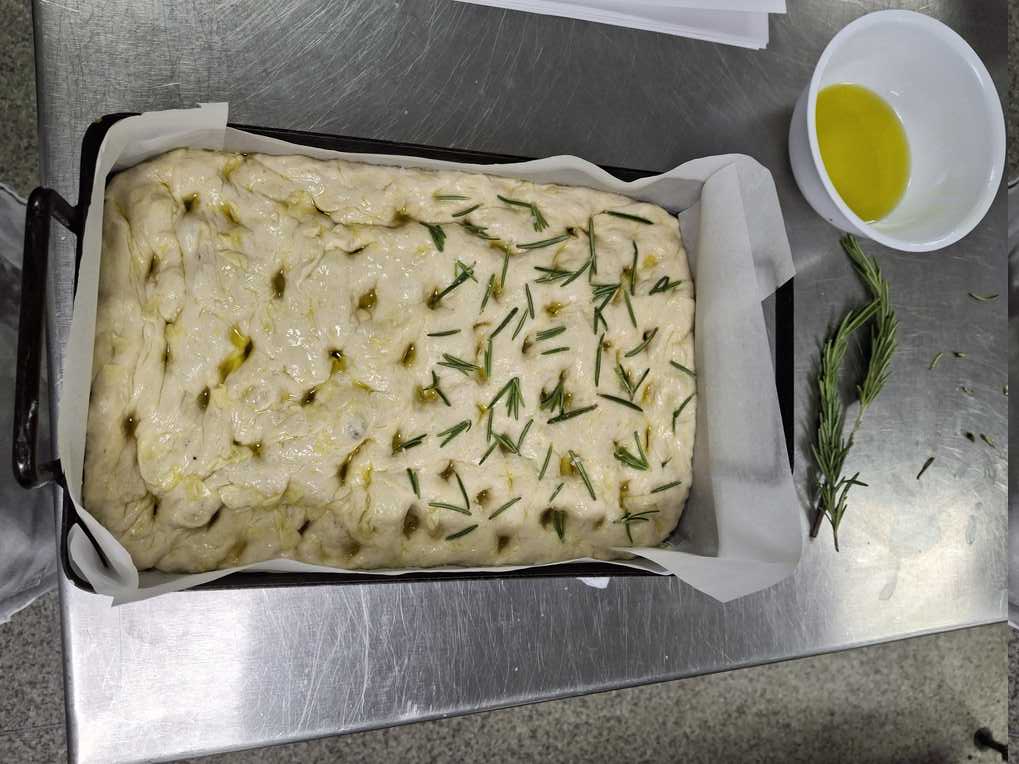
Press deep wells with your oiled fingertips, and drizzle generously with olive oil.
Let the dough rest for 30 minutes to puff back up before baking.
Bake:
Preheat the oven to 220°C / 200°C fan / Gas Mark 7.
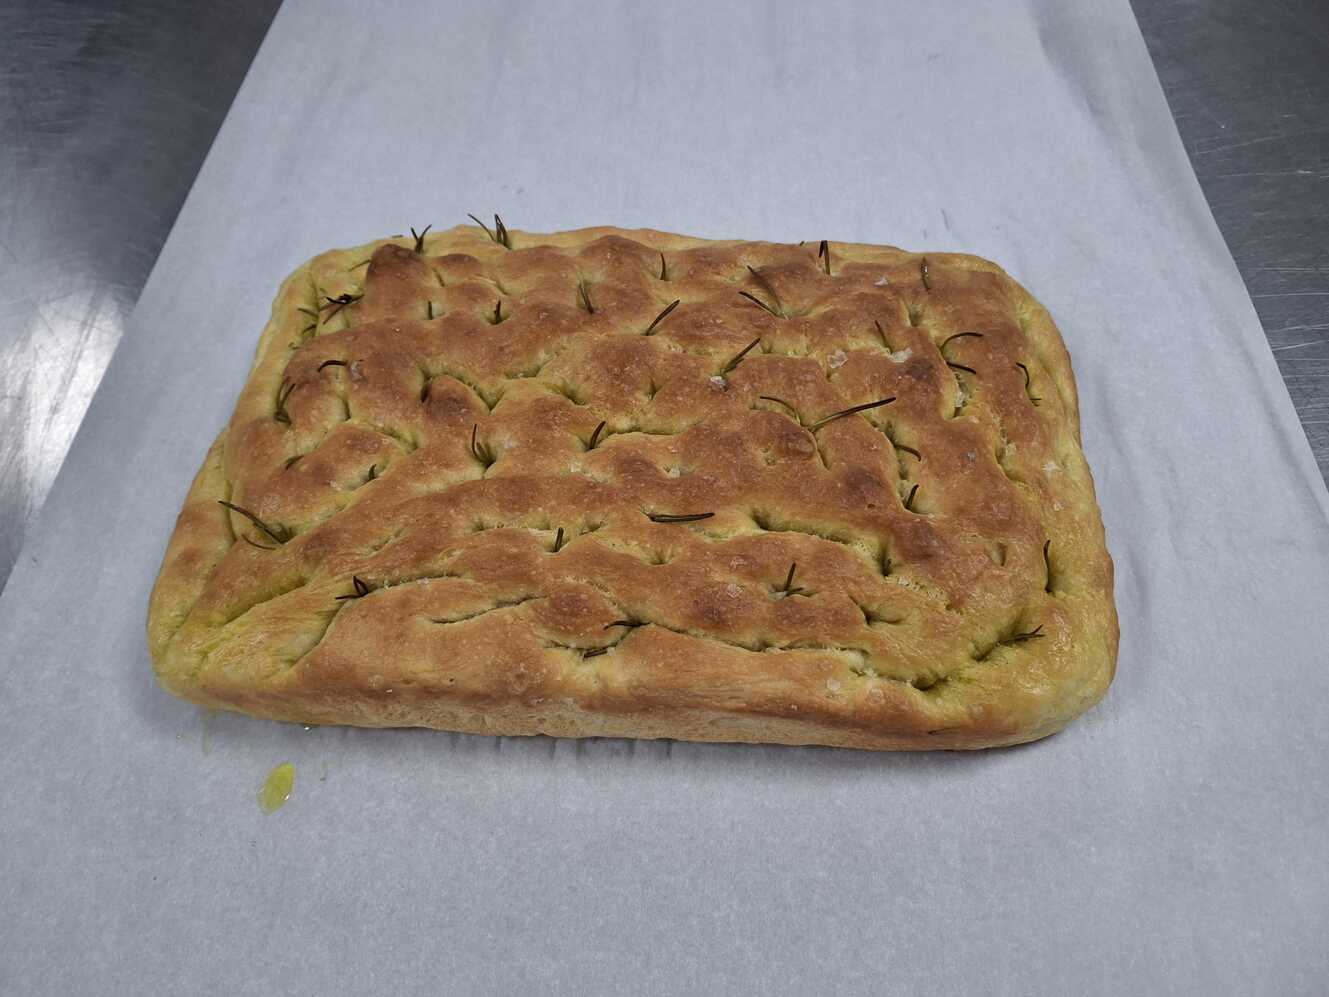
Bake for 20-25 minutes until puffed and deeply golden.
Drizzle with more! fresh olive oil straight from the oven. (The bread, not the oil.)
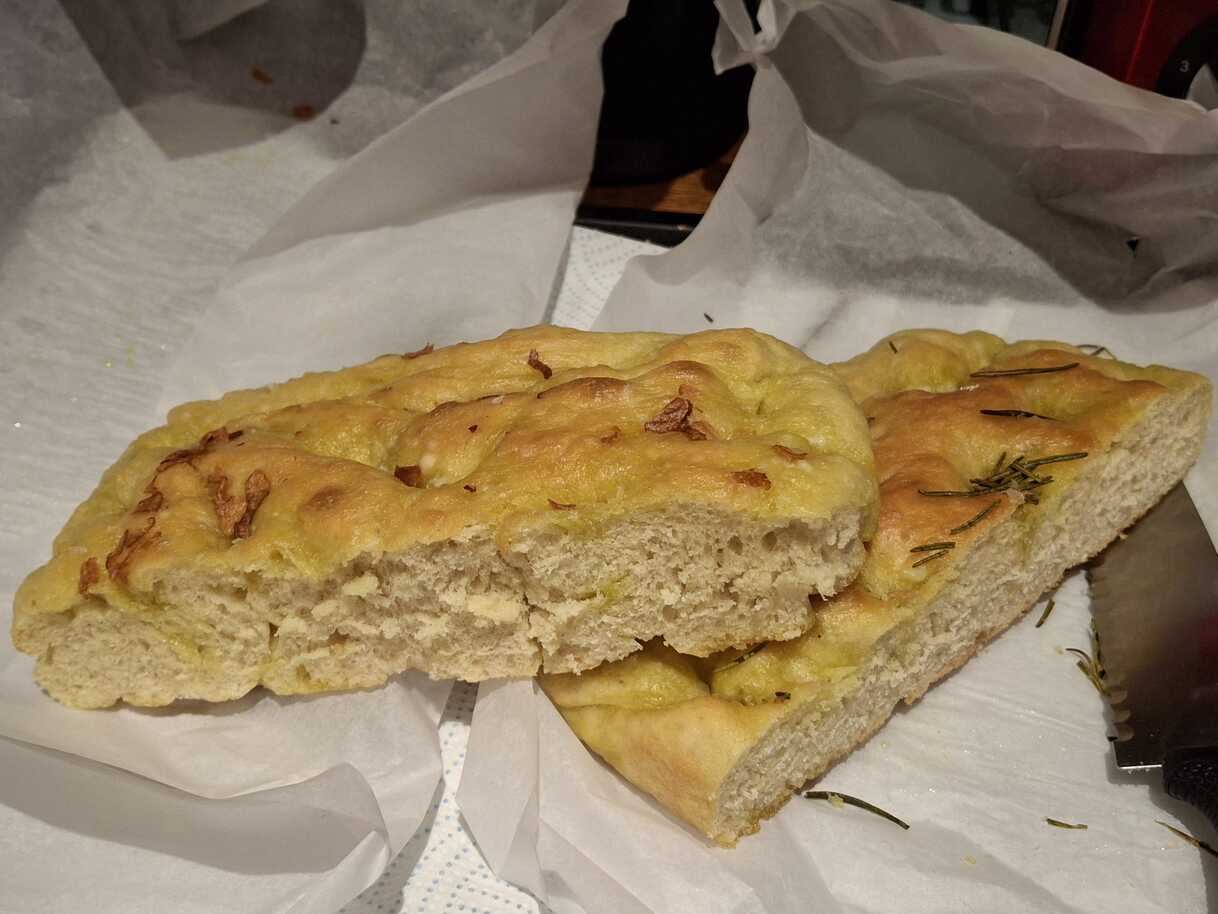
Allow to cool slightly before cutting and serving with oil and balsamic vinegar to dip.
(Fresh yeast is more potent than dried - handle gently and never use water above 38°C or you'll kill it.)
We used dry yeast here, but activated it in the warm water first.
Add the flour and salt to the frothy yeast mixture. Combine until a shaggy SHAGGY??, rough dough forms. Drizzle in 30ml olive oil and work it in until the dough comes together.
(No kneading needed - this is a wet, sticky dough. Trust the process.)
First Rise:
Cover the bowl and leave in a warm spot for 1½-2 hours, until the dough has doubled in size.
(Slow fermentation with fresh yeast builds complex flavour and that signature airy, open crumb texture.)
Dimpling:
Generously coat a 23x33cm baking tin with olive oil.
Gently stretch out the dough to fill the tin, coaxing it into the corners. Don't force or tear it.
Press deep wells with your oiled fingertips, and drizzle generously with olive oil.
Let the dough rest for 30 minutes to puff back up before baking.
We covered our dough with stripped rosemary needles, or thin slices of garlic.
Or both.
Many other toppings are also available including a sprinkling sea salt crystals.
Or both.
Many other toppings are also available including a sprinkling sea salt crystals.
Bake:
Preheat the oven to 220°C / 200°C fan / Gas Mark 7.
Bake for 20-25 minutes until puffed and deeply golden.
Drizzle with more! fresh olive oil straight from the oven. (The bread, not the oil.)
Allow to cool slightly before cutting and serving with oil and balsamic vinegar to dip.
Extremely nice. It must be hard to go wrong!