Babysitting With Tradition
Well, it's time to roll up my regular babysitting visits to Rachel's house, they have been becoming quite a habit, if not exactly a tradition.
And it seems like now would be a good time to put a bit of a brake on them, what with the family just about to trek off to Mexico to catch up with their absent father and all.
Not that I'm never going to see them again or anything. Just not on such a regular footing. In fact I already had my arm twisted to promise Georgina another stuffed chicken dinner and a sushi evening for Sophie, but I did extract from them the price of getting their Dad's famed ceviche recipe.
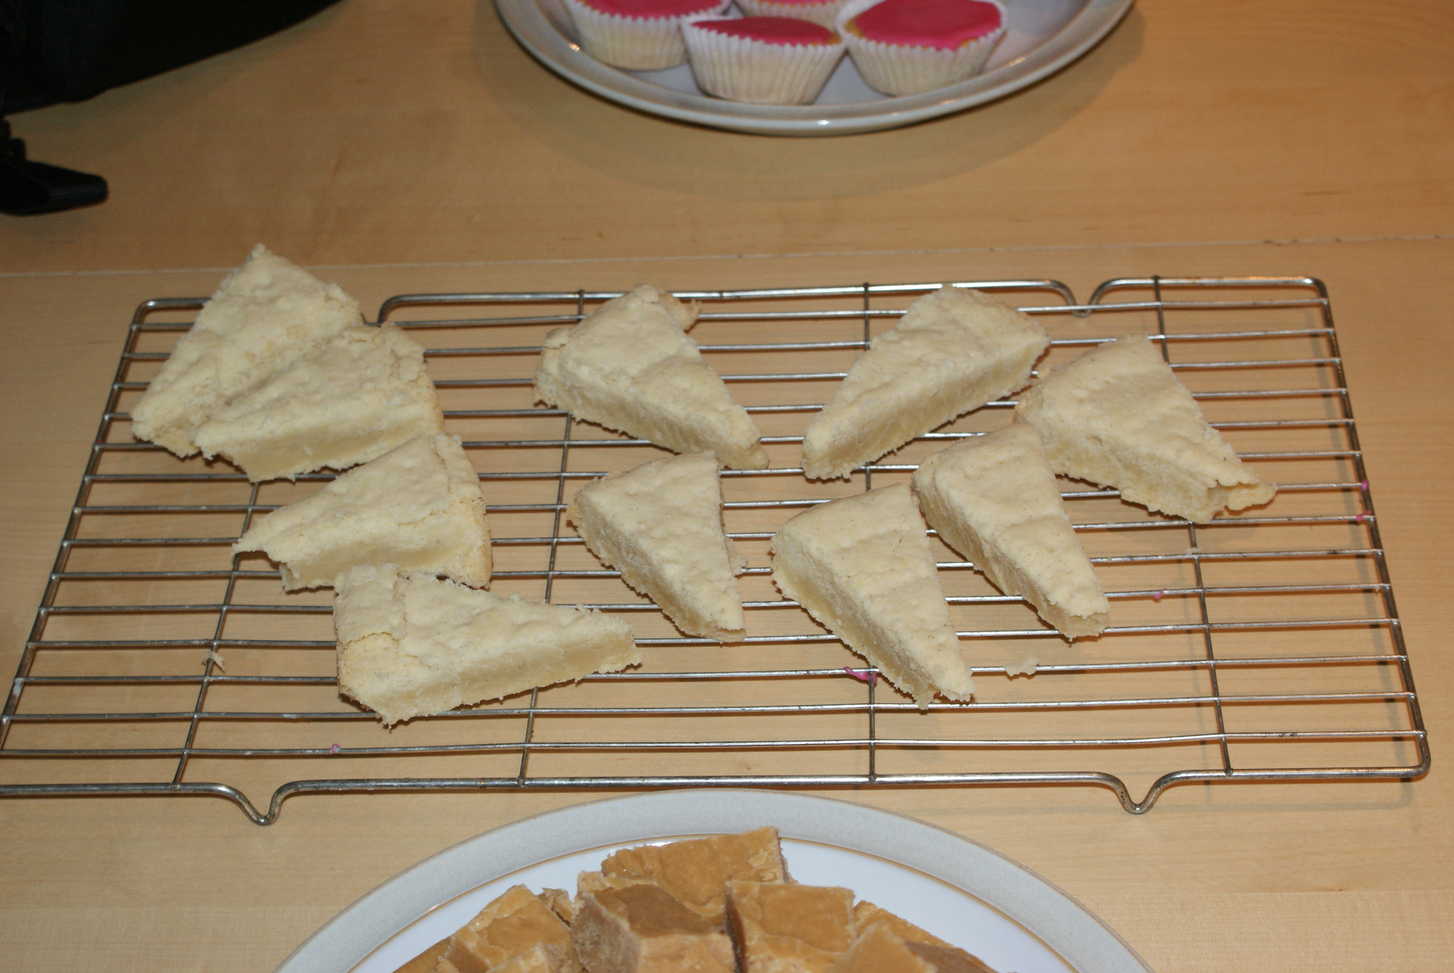
It seemed pretty appropriate to end on a traditional note so we whipped up a batch of Scottish tablet, and a tray of Scottish shortbread.
They both turned out edible enough, but since it was my first attempt at both recipes, the could definitely have been done better.
The tablet not quite as mouth-wateringly smooth as most Scottish Grannies seem to manage, and the shortbread definitely undercooked.
I'll get them next time!
One disturbing thing I noticed as I stirred up the tablet, was the appearance of lots of little black dots in the bubbling mixture.
They turned out to be bits of Le Creuset's non-stick coating, which seems to be now non-sticking to the pan.
This, obviously, is hugely disappointing in a pot which is only a year old. And by no means cheap.
A call to Le Creuset might be in order, eh Rachel?
Tablet
sweet veg
There's a terrific guide to making tablet on the interwebs
which illustrates the process much better than I could.
It pretty much went as described, except that at the end when stirring the mixture off the heat like a madman it didn't really start to feel "gritty", though it did stiffen and cohere. I think you're better pouring it as soon as you feel the mixture thicken.
It pretty much went as described, except that at the end when stirring the mixture off the heat like a madman it didn't really start to feel "gritty", though it did stiffen and cohere. I think you're better pouring it as soon as you feel the mixture thicken.
Makes TONS
Ingredients
- 1kg white cane vanilla granulated sugar
- 1 tin (approx. 400g) sweetened condensed milk
- 100g unsalted butter
- a little more than ½ cup fresh milk to damp sugar
Butter a 10"x20" baking tray. I found 8"x10" to be more than adequate.
You can use plain or vanilla sugar for this (just leave a vanilla pod in the bag for a week or two). Or other flavours I suppose.
Damp the sugar with enough milk to moisten it. About ½ cup. It doesn't matter if you add more milk, it will just take longer to boil off, but too little and you might burn the sugar.
Add the butter and melt it in over a low heat then add the condensed milk and turn the heat up reasonably high.
Stir the mixture for about 10 minutes until it comes to a foaming boil (it will almost double in volume), then turn the heat down low to keep it simmering. If you start to get brown streaks then turn the heat down, or stir more frequently.
Simmer the mixture, stirring occasionally until it darkens to a nice caramel colour - about 20 minutes or so.
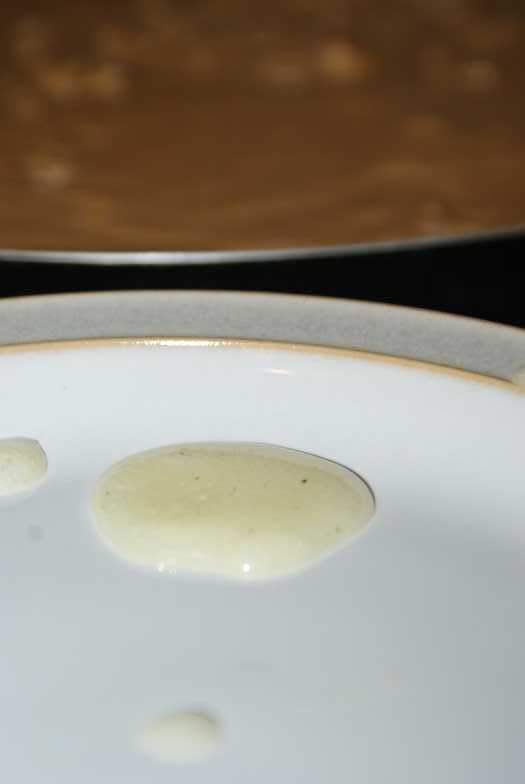
It's a bit up to you how well-cooked and strongly-flavoured you like your tablet apparently, but you can tell when it's ready to set by plunging a teaspoon of mixture into a cup of cold water for a minute or two after which the mixture should form a soft ball which oozes slowly off the spoon.
Now you can take the pan off the heat and stir the mixture vigorously until you feel it start to thicken slightly - it starts to cohere at this stage and hold together a bit more as you stir it, coming away more cleanly from the sides of the pan.
Make sure you keep scraping the excess off the sides back into the mixture as you stir.
Now it's ready to pour into the buttered baking tray.
Once it's poured you can score the surface where you will be cutting into squares later, and then you have to leave it to set completely before turning it out. Preferably overnight, though it's hard to wait that long :)
Traditionally Nigella!
Vanilla Shortbread
sweet veg
We followed a straightforward Nigella recipe for this from her
Forever Summer collection.
She managed to leave out enough instructions like how large a baking tin to use, and whether or not it should be greased to make the result slightly unsatisfactory.
It will probably be a lot better the second time around.
She managed to leave out enough instructions like how large a baking tin to use, and whether or not it should be greased to make the result slightly unsatisfactory.
It will probably be a lot better the second time around.
Makes 12 fat fingers
Ingredients
- 100g icing sugar
- 200g plain flour
- 100g cornflour
- 200g very soft, unsalted butter
- seeds from 1 vanilla pod
- vanilla or ordinary caster sugar for dusting
Preheat the oven to 160°C/Gas mark 3
Lightly butter a 13"x10"x½ swiss roll tin and sieve icing sugar into it.
Put the icing sugar, plain flour and cornflour into the bowl of a food processor fitted with a double-bladed knife and give them a quick blitz. Nigella reckons this works instead of sieving the powders. Cut the vanilla pod in half, then slice each half open lengthwise and scrape out the seeds with a sharp knife. Add these and the butter to the bowl and process until the soft mixture coheres and begins to form a ball, loosely clumping around the blade.
Turn the dough out into the baking tin and press it in to form an even layer. Use your fingers, and finish off by rolling a small glass across the top.
Make cuts to mark out the fingers you'll want to eat, and then use a fork to press holes into each finger. I think you might have to go deeper in with these holes than I did - they should stop the shortbread rising up in the centre as it cooks. Bake for 20-25 minutes, until the shortbread is still pale but starting to turn pale gold and feels firm in the centre.
Remove from the oven and when it's cool, prise out the marked pieces with a palette knife, sprinkle with sugar and leave on a wire rack to cool completely.
Lightly butter a 13"x10"x½ swiss roll tin and sieve icing sugar into it.
I don't know if you really need to do this if it's non-stick, but it seemed like a good idea
Put the icing sugar, plain flour and cornflour into the bowl of a food processor fitted with a double-bladed knife and give them a quick blitz. Nigella reckons this works instead of sieving the powders. Cut the vanilla pod in half, then slice each half open lengthwise and scrape out the seeds with a sharp knife. Add these and the butter to the bowl and process until the soft mixture coheres and begins to form a ball, loosely clumping around the blade.
Turn the dough out into the baking tin and press it in to form an even layer. Use your fingers, and finish off by rolling a small glass across the top.
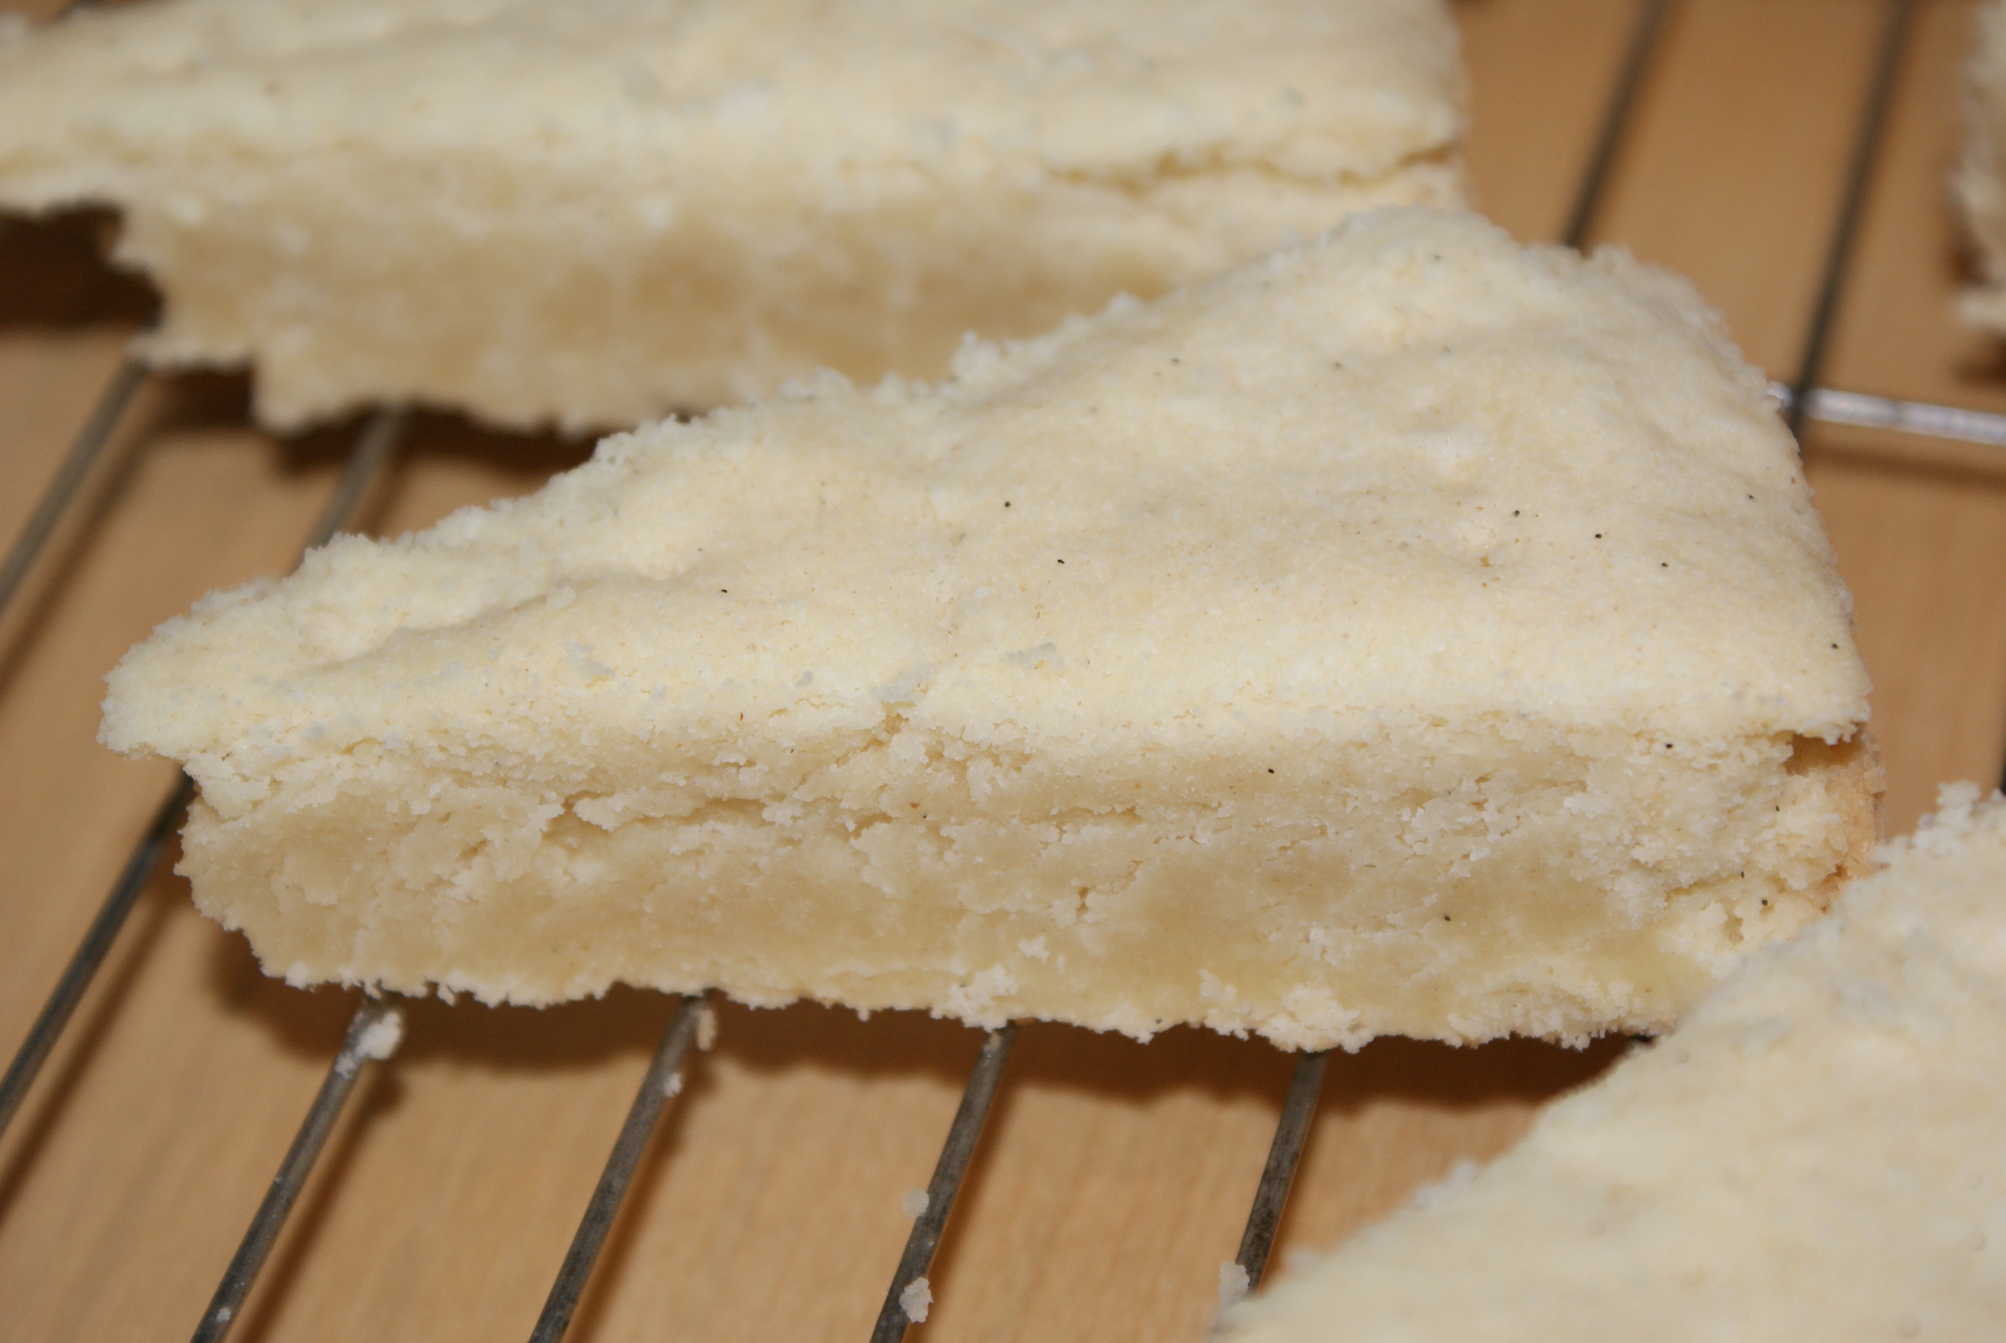
I'm not sure how hard you should be pressing here, but since ours ended up a bit crumbly,
with the top separating, I suspect harder than we did.
I think you should be aiming for a thickness of about ½"
I think you should be aiming for a thickness of about ½"
Make cuts to mark out the fingers you'll want to eat, and then use a fork to press holes into each finger. I think you might have to go deeper in with these holes than I did - they should stop the shortbread rising up in the centre as it cooks. Bake for 20-25 minutes, until the shortbread is still pale but starting to turn pale gold and feels firm in the centre.
Remove from the oven and when it's cool, prise out the marked pieces with a palette knife, sprinkle with sugar and leave on a wire rack to cool completely.
We used a smaller baking tin and ended up with shortbread that was about 1" thick.
This didn't cook right through and was still doughy in the middle using the timings and temperature above
- it would probably be better to go for about half that thickness, or adjust accordingly.
For some reason the top of our shortbread peeled off like a thick skin - maybe I didn't press hard enough or prick deeply enough?
Nigella suggests cutting out the shortbread fingers 10 minutes after they come out of the oven, but they did seems still soft and delicate at this stage.
Delia, on the other hand, suggests marking out the fingers once the shortbread is out of the oven, but then leaving to cool completely before cutting them out of the tin.
Might be worth a shot next time - they tasted like the recipe could work pretty well if I get the cooking times right.
Don't bother, Shirley Spear's recipe is much better.
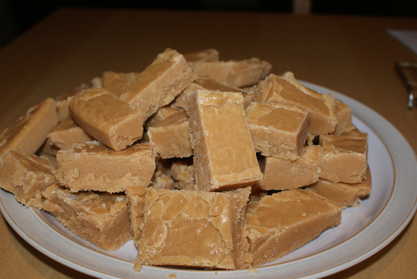
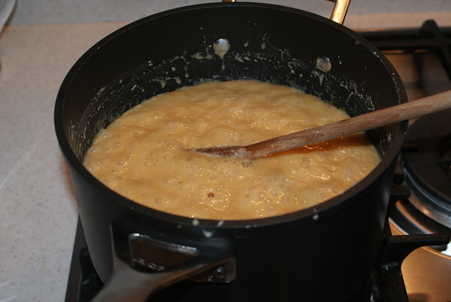
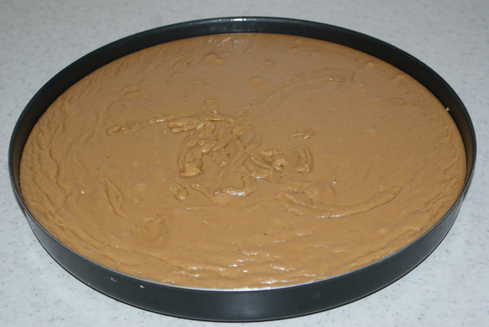
I had the feeling that I might have waited too long before pouring the mixture out and it didn't take on that slightly translucent appearance in the baking tin that I expected from shop-bought varieties.
Next time I'd try pouring it out as soon as the mixture starts to stiffen and cohere. I also might add a little more milk at the start to try and get the sugar to dissolve into smaller crystals, but maybe that would make no difference.
A good effort nonetheless.
It's interesting how often it takes a couple of goes at these things to get the right feel for what needs doing. This time I added a little more milk to the sugar to start, and once off the heat and stirring vigorously, I poured the tablet out as soon as I felt it start to thicken up - probably a minute or two.
The mixture was still quite liquid and almost translucent at that stage.
Success!